Do you want to save what’s on your computer screen, brag about your gameplay to friends, or for any reason need to take a Windows screenshot, but are unsure how to do it? If yes, this article is here to help you. Through this write-up, we share various ways to capture a Windows 10 screenshot. Without wasting your time beating around the bush, let’s begin with screen capturing on your computer.
Methods to Capture a Windows Screenshot
You may take a screenshot on your Windows 10 PC in any of the following ways.
Method 1: Use the Snip & Sketch tool
Windows comes with a handy Snip & Sketch feature to help you take full or partial screenshots. You can use it to save and share screen images with ease. All you need to do is, follow the below steps to use it.
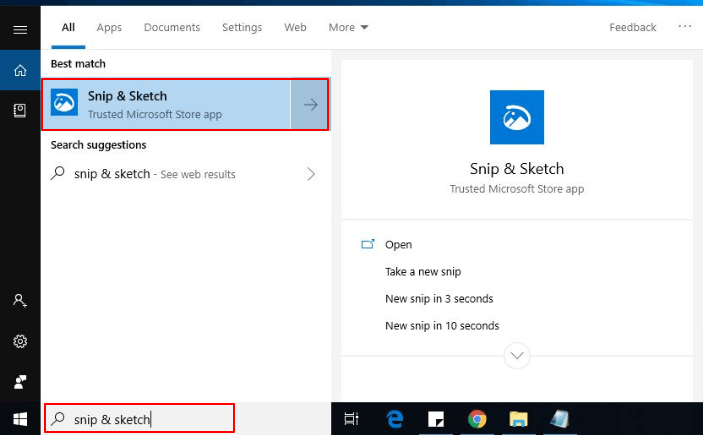
Search for the Snip & Sketch tool on your computer and open it.
Note: You may also use the Windows+Shift+S keyboard shortcut to call up the Snip & Sketch utility. And if you take screenshots quite frequently, you can pin the tool on the taskbar for easy access.
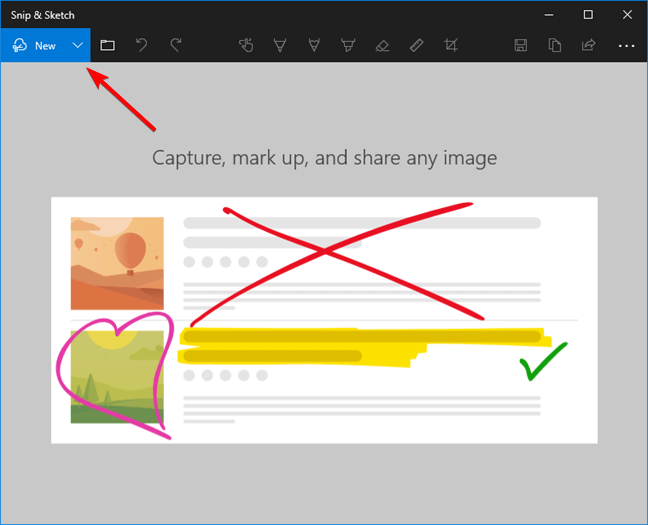
After the Snip & Sketch window appears, click on the New button.
Note: If your Snip & Sketch window is resized to small, the New button appears in your app window’s lower part.
Choose whether you want to Snip now or delay by 3 or 10 seconds.
Note: If you wish to snip instantly, you may use the Ctrl+N Windows shortcut to take a screenshot.
If you selected the option to Snip now, you may either capture a rectangular, free-form, window or full-screen clip. Below is a detailed description of these options.
Rectangular snip: Using this option, you can drag the cursor to form a rectangle on your screen. A rectangular clip lets you capture a partial screenshot on Windows. Free-form snip: With the option of a freeform clip, you can take a Windows screenshot without any shape or size restrictions. Window snip: You may use this option to capture a dialog box or other such window on your screen. Full-screen snip: As the name suggests, a full-screen clip lets you capture the entire screen on Windows 10.
After taking the screenshot, you can save it as a file, share it via email, or copy it on the clipboard.
Also Read: How to Access Steam Screenshots on Windows 10
Method 2: Capture the screen on Windows 10 using a keyboard shortcut
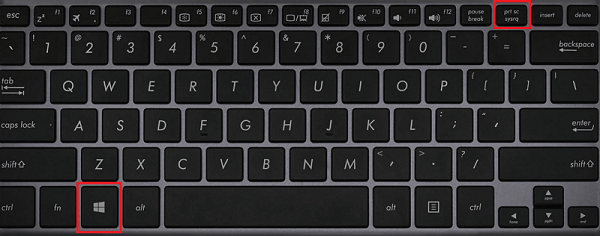
Let’s now talk about perhaps the easiest way to take a screenshot on Windows PC. You may use the Windows screenshot shortcut Windows+PrtSc to capture a full screenshot on your computer. Note: Laptop users may need to use the shortcut Windows+Fn+PrtScn. Moreover, tablet users may take a screenshot by using a combination of Windows/Power and volume down buttons. After taking the screenshot, you may view it in the sub-folder Screenshots of the Pictures folder of your user account, i.e., at the C:\Users\NAME\Pictures\Screenshots location.
Method 3: Take a screenshot or video using the Xbox Game Bar
If you are an ardent gamer who wants to show the world how perfectly you play your favorite game, you may screenshot it using the Game Bar. Below are the steps you need to follow to do it.
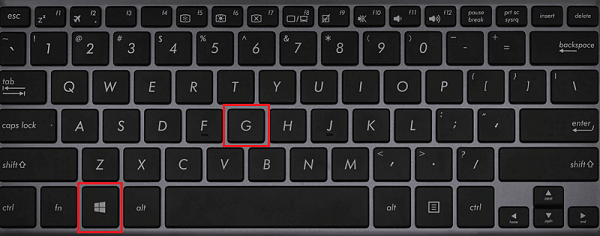
Open the game or another app you wish to record.Use the Windows+G keyboard shortcut to launch the Xbox Game Bar.Select the microphone button if you want to record external audio as well.When you are ready for recording, click on the button with a dot (Record button) to begin videoing/screenshot capturing.
Note: If all your settings are already in place, you can use the Windows+Alt+R shortcut to begin the recording straight away.
After completing the recording, you may click the Stop button or employ the Windows+Alt+R keyboard command to end the process.Now, you can view the recorded game clip in the Captures folder of File Explorer.
Also Read: How To Take a Screenshot on Windows HP Laptop
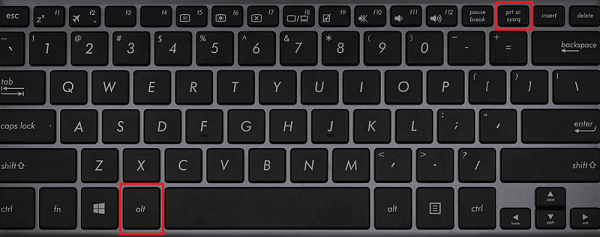
Method 4: Use the Alt+Prt Sc (Print screen) command
Alt+Prt Sc is another shortcut that comes in handy when you want to capture a screenshot of a single active window. Below is how to use it.
Click on the window you want to capture.Apply the windows screenshot shortcut Alt+Prt Sc (print screen). Now, you may paste the screenshot available on the clipboard wherever you want or save it as a file.
Method 5: Take a Windows screenshot using the Snipping Tool
Snipping Tool is very much similar to Snip & Sketch tool as it is its predecessor. However, since it is still available, you can use it to capture a screen on Windows 10. Following is the way to use it.
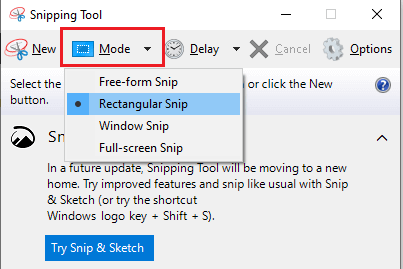
Search for the Snipping Tool on your computer and open the same.Now, select the screenshot Mode, i.e., free-form snip, rectangular snip, window snip, or full-screen snip.When you think you’re ready to take a screenshot on your PC, click on New.
Note: You can also delay the screenshot for 1 to 5 seconds if you want to wait before capturing the screen.
This step depends upon the screenshot mode you selected. Below is what to do for different modes.
Rectangular snip: Click and drag the cursor to form a rectangular shape on your screen. Free-form snip: Click and make whatever shape you want. Remember to keep pressing the right-click button while making the desired shape. Windows takes the screenshot when you leave the button to right-click. Window snip: You need to simply click on the window you wish to capture. Full-screen snip: Let Windows take a screenshot of your complete screen.
After taking the screenshot, you can keep it saved as a file, share it through email, or print it.
Also Read: How to Take Screenshots on Chromebook
Method 6: Make use of a third-party application to capture a Windows screenshot
There is an ocean of applications available on the web to let you capture screens on Windows 10. Below we share some of the most popular apps to take a screenshot on Windows.
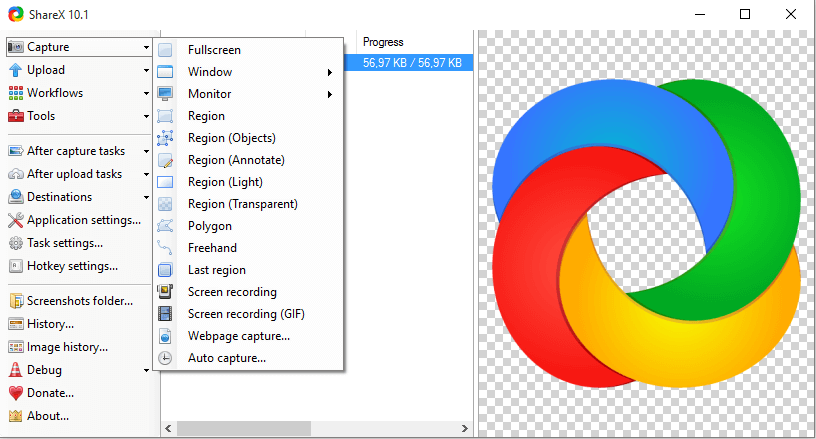
1. ShareX
ShareX is a free and open-source productivity tool for Windows that allows you to capture and share screenshots easily. It boasts some highly useful features, such as identification of screen borders, customizable keyboard commands, scrolling capture, web page capture, annotation of images, the addition of watermark to photos, and a lot more. You can click on the link below to experience ShareX. Visit Now
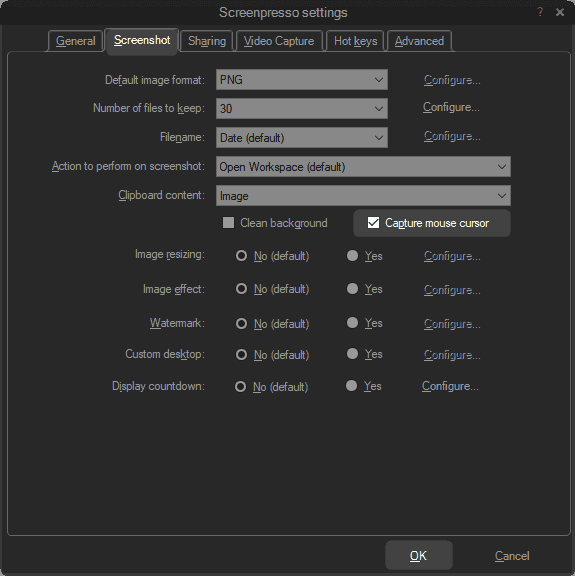
2. ScreenPresso
ScreenPresso is yet another wonderful application to take Windows 10 screenshots. Talking about its features, it delights the users with an easy-to-use screen capture tool, sewing tool, lightweight MP4 video capturing, user-friendly editor, support for keyboard shortcuts, and integrated sharing function. Below is the link to know more about this software. Visit Now
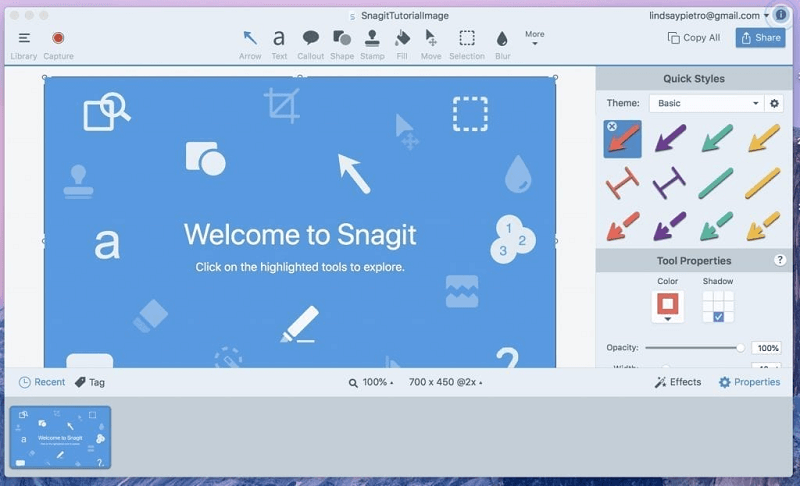
3. Snagit
Next, we would like to introduce you to Snagit. It is one of the most feature-rich applications you can use to take a Windows screenshot. Some of its premium offerings include multi-screen recording, audio capturing, template management, image editing, video call recording, screen recording, file sharing, video editing, and third-party integrations. You can find more about the application from the link shared below. Visit Now
Windows Screenshot Captured Successfully
Through this article, we discussed how to take a screenshot on Windows 10 PC. You may apply the above methods to capture the screen easily. If you have other better ways to screenshot on PC or any confusion persists in your mind, feel free to discuss the same through the comments section below. We will return soon with another article, till then you may have a look around TechPout to find all things tech that interest you.